Toronto SEO Company: Best Websites To Build A Successful Business
In today's competitive business environment, it is essential for businesses of all sizes to optimize their web presence in order to attract more traffic and customers. Toronto website development company can help your business achieve this objective by developing a strategic marketing plan that includes effective online branding, search engine optimization (SEO), and lead generation strategies.
Why do you need to build a website?
A website is the most visible extension of your business. It is the first point of contact for potential customers, and it is where you will showcase your products and services. A well-designed website can help you attract new customers, boost online sales, and improve your brand awareness.
It’s important to choose a web design company that has experience in building successful websites. Toronto SEO Company is a top-notch web design company that has helped businesses from all over Canada achieve success online. We have a team of experienced web developers who will help you design a website that meets your specific needs and requirements.
We take pride in our work and strive to provide our clients with the best possible service. If you are looking to build a successful business online, contact Best seo company Toronto today to learn more about how we can help you reach your goals.
Best Websites To Build A Successful Business
When it comes to starting a successful business in Toronto, you'll need the right resources. Here are four of the best websites for building your empire:
- Entrepreneur Canada: This website offers resources on starting and running a business, from tips on marketing and pricing to legal advice.
- Startup Canada: This website provides information on financing, exporting, and hiring employees for your business.
- The Canadian Business Journal: This website offers access to industry news and trends, as well as advice on how to start or grow a business.
- Small Business Trends: This website covers all aspects of small business ownership, from tips on branding and marketing to financing options and software recommendations.
How To Resolve Asus Mesh Router Not Working?
An interrupting internet connection can be very frustrating. This is one of the most common issue that users face where Asus mesh router keeps disconnecting from the Wi-Fi network. There are many reasons due to which you can face this error. The first is that there might be a problem while setting up the router. There can be any misconfiguration in the settings. You can reset the router in this case and solve the problem. Another reason is that there is no internet access in your router. There may be some problem with the adapter. One of the major cause is outdated firmware of the router. Sometimes you miss the alert or don’t receive it and the router firmware does not update. You can manually check for any updates and update the firmware of your router. The overheating of the router can also cause it to disconnect from the internet. Now, let’s have a look at some of the ways to fix Asus router not working. Follow the steps mentioned below.
Steps to fix Asus router not working:
- Check the firmware version of the router and see if it needs to be updated. Update the firmware of your router to the latest compatible version.
- You can set the channel bandwidth to the default manually.
- Try switching the router channel with less interference.
- Adjust the directions of the antennas on tbe router and see if it’s working.
- Make sure that the router is placed properly on a smooth surface. All the wires and plugs of the router should be connected properly.
- The router maybe overheated, turn off the router and disconnect all the wires and plugs attached to it. Give it a reset for a minute and then plug it back.
- Contact your internet service provider and see if there is a server error.
- Check for any physical damage and see if the router is faulty.
- Reset the router back to default settings.
After completing these steps and resetting the router, your device will be set to default settings. Therefore, you must change Asus default password and customize it. You can navigate to settings and follow the steps mentioned below.
- Open a web browser and enter the default IP address of the password.
- Then, enter the default login credentials in the given boxes.
- Click enter and you will be navigated to settings.
- Click on Wi-Fi network and select change password option.
- Type the default password. Then, create and enter the new password twice.
- Click ok to apply the changes.
If you can’t login to Asus router, reboot the router and then launch a web browser in your device. Type 192.168.0.1 in the search bar and click enter. You will be navigated to settings page and configure the settings.
How To Resolve Netgear Router No Internet Issues?
Netgear routers is one of the best choices for routers. It is quite reliable and works efficiently with all your devices. But sometimes you might encounter issues like Netgear internet not working. It can happen due to many reasons. It can happen due to some technical error or network connectivity issues. Let’s have a look at some of the causes due to which your Netgear router is not working.
Causes for Netgear router not working:
- Sometimes there is an issue with the background server.
- Power outages and maintenance breakdown at the end is also other reason.
- Faulty or loose wire connections.
- Ethernet cable not plugged in properly.
- The firmware of the router is not updated.
Now that we know some of the probable causes due to which there is no internet access in the router. Let’s have a look at some of the common troubleshooting ways through which you can resolve these issues.
Ways to resolve Netgear router not working:
- Try rebooting the router, unplug the device and wait for a minute. Plug in back again and switch on the router.
- You can also restart the device.
- Check for internet connection.
- Login to the router and start the troubleshooting process. It will take up to ten minutes.
- Make sure the device is updated.
- Check if all the cables and wires are plugged in correctly.
- Reset the device back to factory default settings.
You connect your devices like printer to the router through the WPS method. You must be wondering, where is WPS button on Netgear router. The WPS button is located at the back of the router. WPS stands for Wi-Fi Protected Setup. It helps you establish a connection between the devices wirelessly. If you have a printer to connect to the router, press the WPS button on the router and when the light starts to blink, press the WPS button on Netgear router within next two minutes. The devices will recognize each other and establish a connection.
Network security is very important and for that your router must have a firewall which provides protection against Dos and viruses. But does Netgear Nighthawk have a firewall. Like all router, the Nighthawk router also have a firewall which you can enable through the settings.
Netgear routers are quite reliable and one if the best selling routers in the market. But sometimes you face error like Netgear 403 forbidden. To resolve the issue, go to the browser history and clear the cache. Look for any malware and get is fixed. You are not able to access certain sites and files because of this error. You can reset the files and permissions settings. Disable the plugins temporarily. This will grant the permissions and you can access the files.
Source
How To Setup Netgear Extender?
Netgear routers are one of the best routers available in the market. The routers provide error free internet connection with high speed. But you may require to expand your network. In that case, Netgear extenders help you by connecting to the existing Wi-Fi network. It improves the coverage of your router. In order to connect your range extender to the router with an Ethernet cable. This would allow you to establish Netgear extender setup. Lets take a look at the steps.
Steps to connect Net gear extender to router:
- Type mywifi.ext.net in your web browser.
- Click on search and a login page would be displayed.
- Now, enter the username and password. If not changed then enter the default credentials.
- Click on login and select wireless settings.
- Under the security options, verify your router password.
- Click on apply and your device would be connected to the extender.
Besides that, you should also be aware about the basic settings of the router and functions like changing the password and username. In order to access the Netgear router settings, you must know the default credentials of the router. The basic settings that you should be aware about includes IP address, username and password. The Netgear switch default password is password. When you purchase any router, it is set with default credentials for easy access. You can later setup your router and modify the settings.
Steps to change password:
- Connect a device, mobile, laptop or your computer to the router.
- Open a web browser and type 192.168.0.1 in the search bar and click enter.
- Then, type the username and the password as admin. The default password for Netgear router is the word spelled password.
- You will be directed to the settings of the router. Click on wireless settings.
- Click on Wi-Fi name and password.
- Type the old password of the router.
- Create and type a new password twice.
- Click ok to save and apply the changes.
Thereafter, you can login to Netgear WNDR2500 using the new password. The steps for setting up the router are also quite similar. Let’s have a look at the steps.
Steps to setup Netgear router:
- Go to a web browser and type the default IP address, 192.168.0.1 in the address bar.
- Press enter and you will be directed to the settings of the router.
- Here, you have to enter a username and a password to login to the router.
- The default username of the Netgear router is admin and the default password is password.
- Enter the same and press enter. You will be logged into the router.
- You can then navigate to Wi-Fi settings and make the necessary modifications.
To complete Netgear router setup the device must be connected to the router through an Ethernet cable. Your modem and router should also be connected using an Ethernet cable.
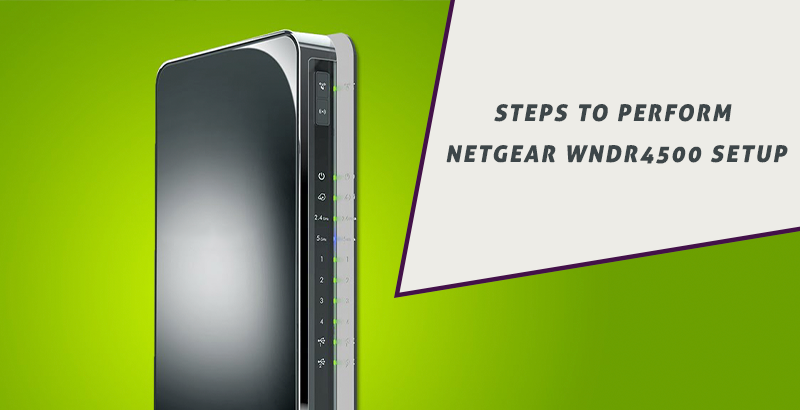
Steps to Perform Netgear WNDR4500 Setup
The Netgear WNDR4500 router will support 450Mbps on both the 5GHz and 2.4 GHz bands. With this, you will get the great range of reliable and speed internet connection to experience a hassle-free gaming and streaming services.
Once the Netgear setup is completed then you need connect it to printer and wirelessly meet the printing requirements. The Netgear router setup will open a wide range of wireless communication features of router as it will allow to further change the router settings by using the router management console. Carefully read the web page to know how to login to Netgear router and learn about effective troubleshooting methods.
How to Perform Netgear WNDR4500 Router Login?
Check out the steps to perform Netgear router login and for this, router need to physically connected.
Phase 1: Configuring Netgear WNDR4500 Router
- Start by disconnecting the cables connected to computer and then switch on modem first.
- Here, connect one end of an Ethernet cable to modem and the other end into internet port of the router.
- After that, connect router to computer by plugging one end of Ethernet cable to computer’s LAN port and other to any of the Ethernet ports of the router.
- Switch on router and make sure that power lamp is on.
Phase 2: Logging into Netgear WNDR4500 Router
- Start by connecting the router to computer and then open your web browser.
- After that, enter routerlogin.com or 192.168.1.1 from the browser address bar and choose to enter.
- Lastly, enter the default router username and password. Here, you will find the details at the back or bottom of the router.
These are the steps that users need to follow to smoothly perform Netgear router login process properly.
Steps to Perform Netgear WNDR4500 Setup
Check out the steps as mentioned and know about the steps to perform Netgear router login password:
- Proceed to log into Netgear router by using appropriate login credentials.
- Now, tap to security and then services.
- Choose to add after configuring the settings for every port.
- Tap to security > firewall > LAN WAN rules.
- Tap on add under the outbound services to smoothly create the rules for Outbound services.
- Proceed to security > firewall > advanced.
- Disable SIP-ALG.
- Tap to apply and then choose security > bandwidth profile and add VOIP bandwidth profile.
These are the steps that you need to follow to perform Netgear WNDR4500 setup process.
Summing Up
Check out the steps as mentioned above and know about router login Netgear steps. If you face any other query like Netgear router password change then follow the steps properly to avoid any issue.
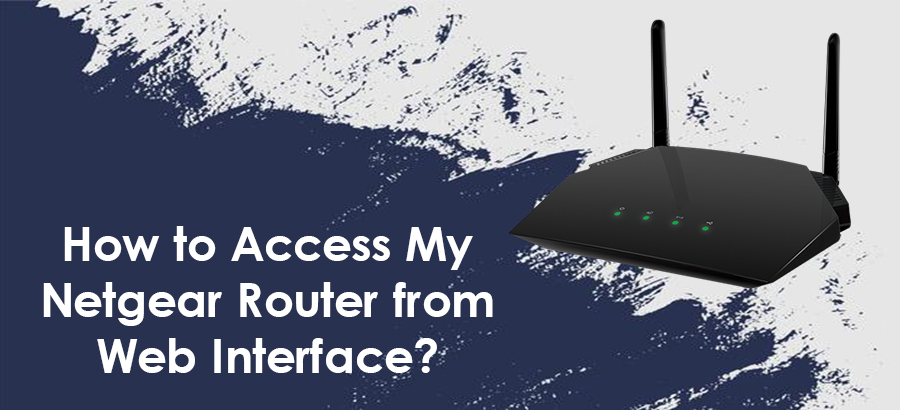
How to Access My Netgear Router from Web Interface?
Despite being one of the exceptionally build user-friendly features, the router, one way or the other, encounters several technical errors – such as can’t log in to Netgear Router. But, there is no need to get worry over it as here we will provide you the several techniques for Netgear router troubleshooting, and you can easily fix your issue on your own. So let’s get started with the troubleshooting techniques.
If you can’t log in to Netgear Router and want to fix the issue, you must follow the Netgear troubleshooting guidelines, but before that, you must know the reasons behind the issue.
Possible Reasons Behind Netgear Router Login
- Incorrect username and password
- Incorrect IP address
- Unsupportive web browser
- Outdated Firmware
Troubleshooting Tricks to Fix Netgear Router Login Issue
Verify the Login Credentials Once
- To begin the process, you must identify whether the sign-in details you are using are accurate or not.
- Make sure that you are using the correct WiFi device to access the login page.
- Ensure that you are using the correct user ID and password for Netgear login.
Configure the Network Settings
You must configure the Network Settings to resolve the issue of Netgear Authentication.
- To start, you must do right-click on the WiFi Network that you are currently using.
- Next, you can select the Option– Open the Network and Internet.
- Now, move to the Network and Internet settings.
- The list of available network connections for your PC appears before you.
- Now, you can choose the connections from this list.
- Hover, right-click on the network connection icon, and choose the properties option.
- Select the options, namely IPV4 and IPV6.
- Now, you can choose the properties button and enter an IP in the specific field.
- Finally, you can connect your device to the Netgear router.
- Once done, hit on the Apply button to save the required changes.
- Finally, you can restart your Netgear router and PC to verify if they work properly or not.
Forgot Your Netgear Router Password
If you have changed the username or password of your Netgear router and you have forgotten it. In that instance, you have to recover your password, and if your Netgear router password recovery not working, one method is disconnecting and then reconnecting the wireless network. If the issue is still there, you may need to reset your router to start all over again with the default settings.
Update the Firmware on Your Netgear Router
If you encounter a Netgear router authentication issue, you must update the firmware by following Netgear troubleshooting guidelines:
- Open the web browser on your device and log in to your Netgear router.
- Thereafter, check if any new firmware is available.
- Hit on the Firmware Update option to update it.
- Now, you can proceed with the on-screen instructions to download and install the firmware on your router.
- Finally, your Firmware has been updated.
Get-Connect with Our Technical Advisors for Immediate Assistance
If you have any issues regarding Netgear troubleshooting or anything else linked with the Netgear Router firewall, please get in touch with our representative for immediate assistance. Our technical experts are working round the clock to help you fix any sorts of issues.
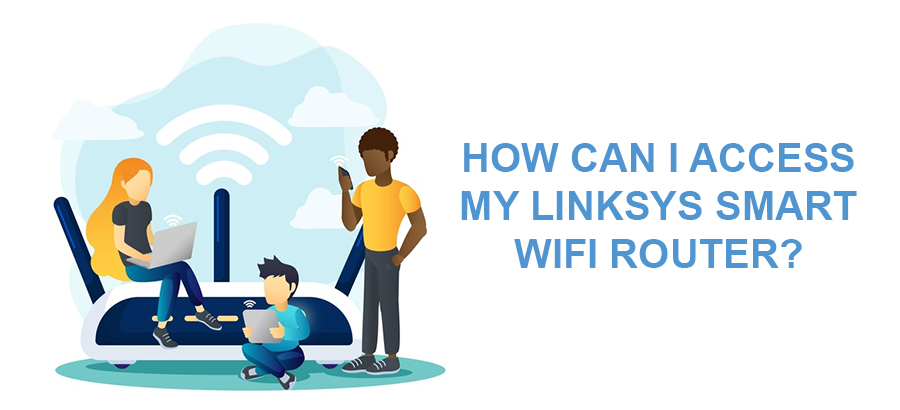
How Can I Access My Linksys Smart WiFi router?
Linksys router consists of a main router that connects directly to the modem with a series of modules. They all share the same SSID and password, and are a part of a single wireless network. Now, the question is– how to access Linksys wireless router? Let's have a look at the steps for how to setup Linksys WiFi router.
Steps to setup Linksys WiFi router
Step 1: Connect the router
- At the first step, you can unpack the power cable as well as network cable from your Linksys router.
- Plug the first end of the cable into a free LAN port on your modem.
- After that, you have to plug the other end of the cable into the port which is labelled as yellow of your router.
- Plug the power cable into your router and after that plug the adapter into a free power outlet.
- Now, you can turn on the router with the on/off button on the back of the router.
Step 2: Install your router
- Plug a network cable into your device and connecting it to the blue network ports on the router.
- It is possible that you can setup wireless connection.
- Make sure that you will find the Linksys Router login details at the bottom of your Linksys router.
- Now, Open a web browser and Go to the installation page of your router.
- Type the Linksys Smart Wi-Fi setup and tick the box next to the option– I have read and accepted the License Terms for using this software to continue.
- Now, you can hit on the Next button in the bottom right.
- The router will now repeatedly try to find the accurate settings for your connection.
- If you do not use a modem from your provider, but have connected the router directly, you might have to type the username and password.
- Now, you can check with your internet provider if necessary.
- If your connection does not work after this, then the router will give you a number of tips that you can check.
- This always allows you to check whether you have done anything wrong.
- If this is successful, the Linksys router will check whether there are updates for the software or not.
- You can do it automatically by doing tick on the box– Install future router updates automatically in the display.
- Under the option of Network Name, you can enter the name that you want to give to your wireless network.
- The name of the 5GHz network is automatically created by placing the 5 GHz behind the name.
- Now, under the option of Network Password, you can type the password for your WiFi network.
- After that, you can create a password to access your router and you came to know how to access Usb storage on Linksys router.
- With the help of this password you can sign-in to your router in the future to adjust settings.
- Now, on the display you might see the option– Your router is set up to see.
- After that, the router displays an overview of the settings.
- Now, you can Press on the Next button to complete the installation.
- The last step is that you can setup Linksys Smart WiFi Account.
- If you intend to do that, it is advisable to type this immediately.
By going through all the steps, you came to know how to access Linksys router settings, and if unable to access it, you can contact our representatives.